Introduction
This very very basic tutorial is going to teach you how to use a font of choice and allow you to make the font hollow so you can fill it in with a color of your choice. This tutorial is being written for users using Photoshop CS3. Most of the features you are using still appear in older and even newer versions of this software.
Setting up your graphic
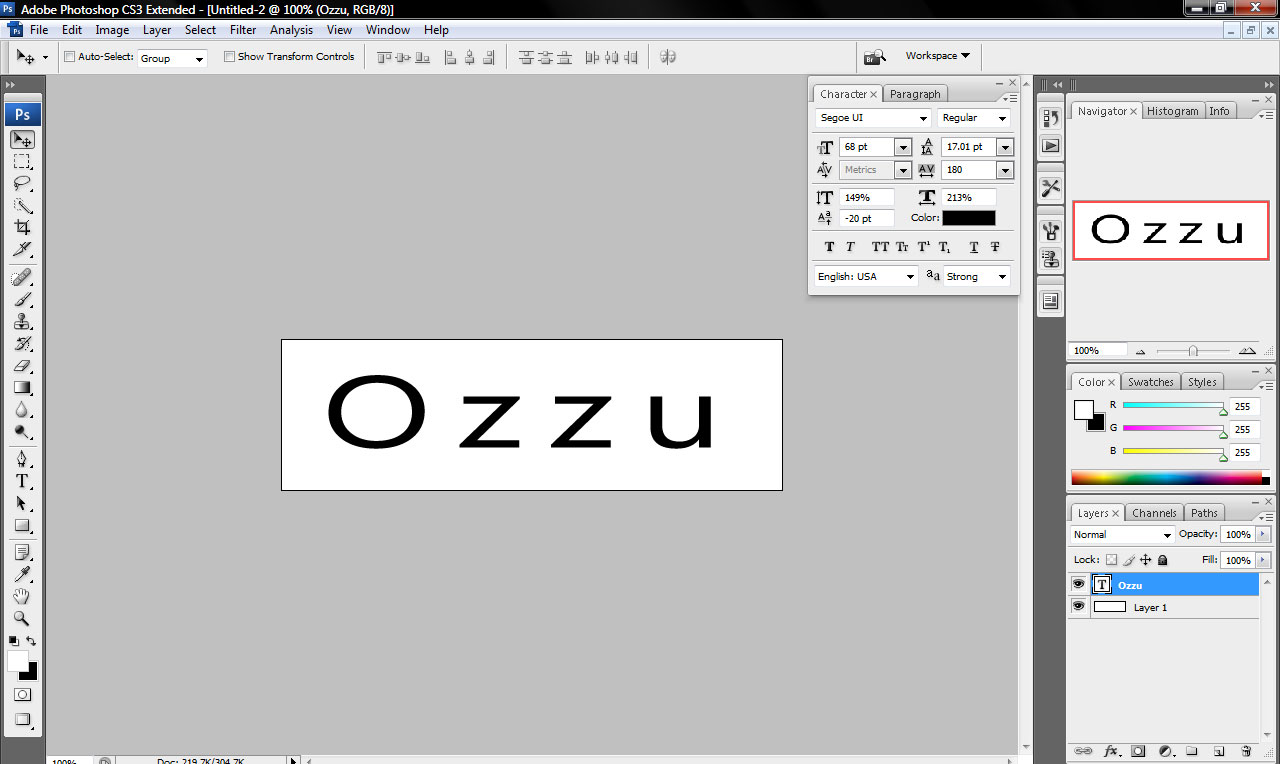
First of all, you want to set your graphic up. To do this, I created a new blank canvas with a white background. The size of my graphic is 500px in length by 150px in height. The second step here was to click on the Text button which you should see on the panel which by default is usually found on the left of the screen, right next to your graphic canvas. Having the "text" button selected I proceeded to type in the text I want to use, in this case, the site domain name, Ozzu.
Making the text appear hollow
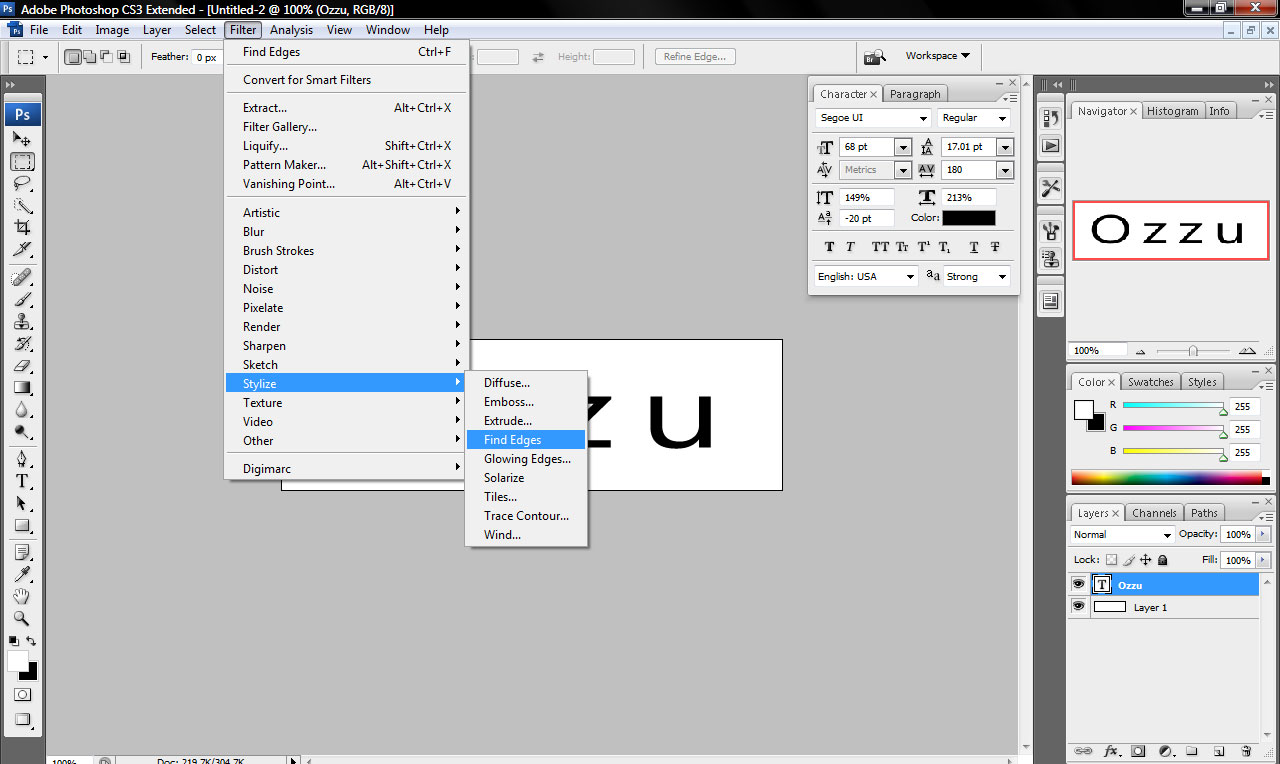
Next, you want to make the text appear hollow. In order to do this you need to click on Filter > Stylize > Find Edges. When you click on Find Edges you will be asked if you want to Rasterize the text. What this means is you would no longer be able to add more text into that text field as you would in effect be making it a graphic instead of text. You need to click OK to proceed.
Filling in the gaps
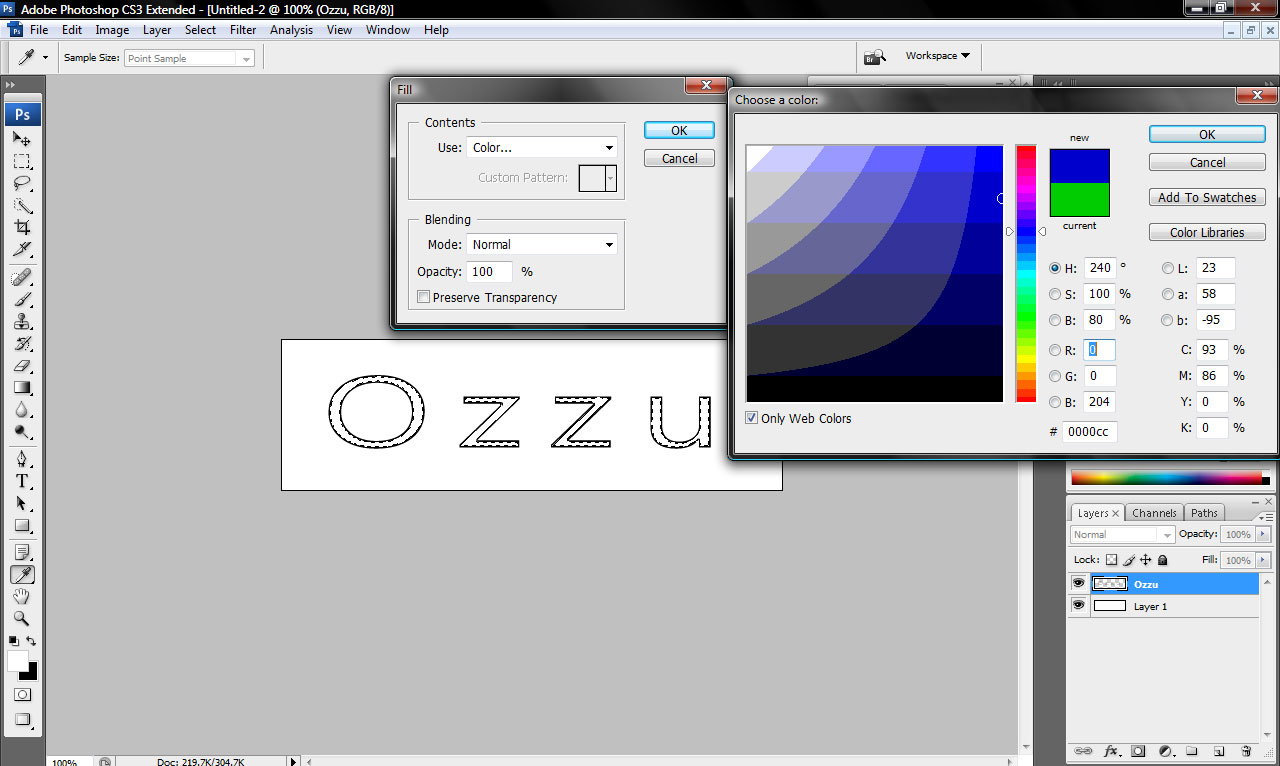
Your graphic is now hollow, it should simply have an outline of the text and white surrounding the outside and inside the hollow-shaped letters. On the palette to the left of the screen, there is a button you want to click now called "Quick Selection", you can simply press "w" on your keyboard and it should select it for you. Once this is selected you want to click the inside of the letters. Once you have done this you need to select Edit>Fill. There is a drop-down box in the Contents section of the Fill Box, if you click down and select "Color..." it will then open up another box allowing you to choose the color you are after.
In my example, I have decided to go for a nice Dark Blue color. Once you have picked your color, click on OK, then OK again to the Fill Box. This should fill in the hollow space perfectly.
Conclusion
The final look should be something like this:
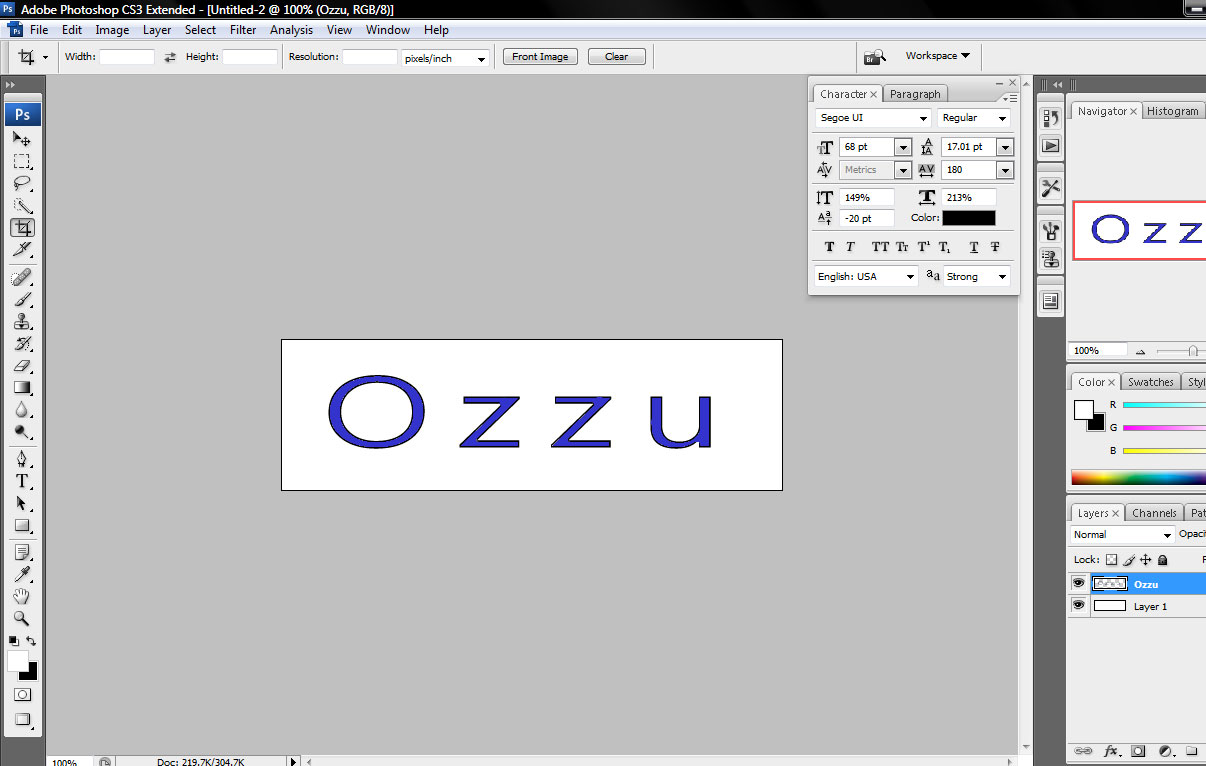
This is quite a nice feature that can be played about in many different ways. This is a very simple and quick way of doing something basic to a logo, however, it is the first step towards doing something a bit more creative with a logo. I fully intend on doing a follow-up to this tutorial with a few neat tricks which will allow you to do something even smarter using some of the tools on Photoshop CS3.
If there is something here you do not understand then please leave a reply here and I will do my best to answer them as soon as possible.
This page was published on It was last revised on