In this tutorial, we'll be discussing some ideas for making photo-realistic vector graphics.
I'm assuming you are familiar with Adobe Illustrator, or an analogous vector editor. I'll be using Adobe Illustrator CS4 for my end of this tutorial, however, older versions should work fine on your end. I'm also assuming that you have a decent understanding of vector creation methods including stroke and fill management, layer manipulation, and Bezier curves.
Tools That We'll Be Using
We will be using a variety of tools to achieve our results. Let's go through them!
Brushes
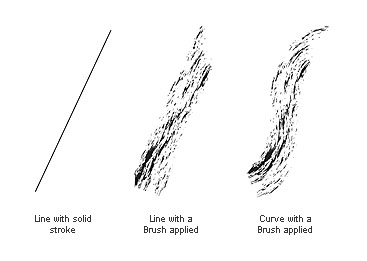
Brushes are generally defined by a geometric shape applied as a brushstroke. Brushes are applied to geometry the same way that a stroke is. There are different types of brushes including calligraphy, pattern, art, and scatter. They can reduce the amount of time spent performing redundant actions.
To use a brushstroke, create a line. With the line selected, go to your Brushes palette (Window/Brushes). Select any of the brush strokes you see. After you've successfully applied a brush, try altering the geometry of the line and observe how the shape of the line affects the rendering of the brush stroke.
Transparency
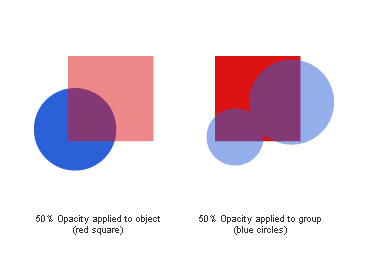
A singular transparency can be applied to any object(s) and groups. By "singular" I mean the transparency is applied to the whole object, equally.
In Illustrator you can apply transparencies to selected objects via the transparencies palette.
Opacity Masks
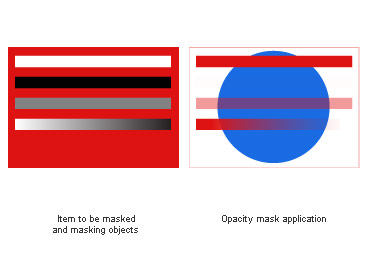
Often, you'll want to make objects with variable transparencies or knockouts. That is to say, one part of the object might be more, or less, opaque than another part of the object.
The area on the left shows the red rectangle that will be masked and black and white objects that will be used as masks. The area on the right shows the application of the opacity masks. Notice that white makes the opacity 100% and that black makes it 0%. This can be also be inverted.
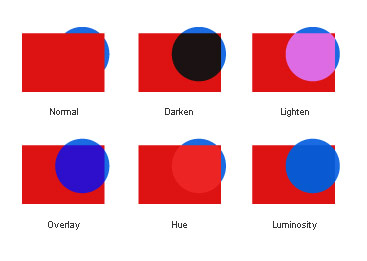
Blending Modes
As we stack layers of graphical information on top of others, we can choose how each layer will react with the objects below. In all the examples, the red rectangle's blending mode is the one being manipulated.
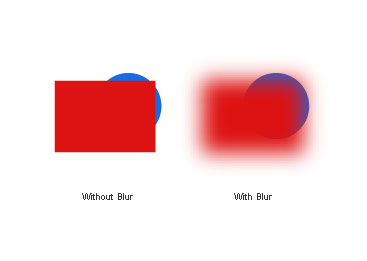
Gaussian Blur
As it is with raters graphics, Gaussian blurs can be very effective for softening edges and blending layered objects together.
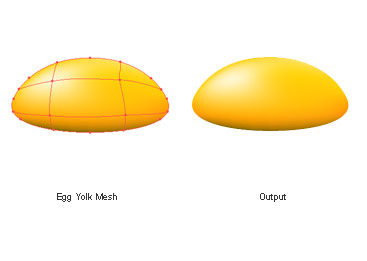
Gradient Mesh
Gradient meshes are a very powerful way to create more organically shaped gradients. Essentially, you create a mesh that overlays a piece of geometry. Each vertex in the mesh is able to receive its own color. Each vertex also has Bezier controls so you can fine-tune your gradient even further. The only problem is, it can get complicated quickly if you try to pack too much definition into one shape.
The image below shows how one might use a gradient mesh to fill an egg yolk.
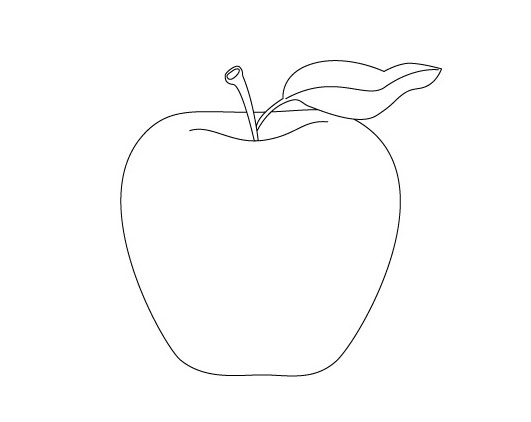
Starting Point
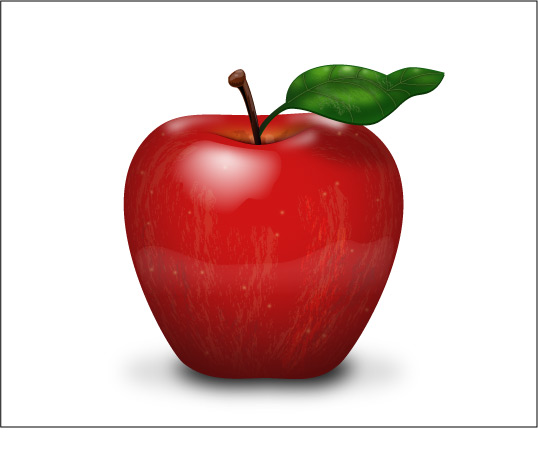
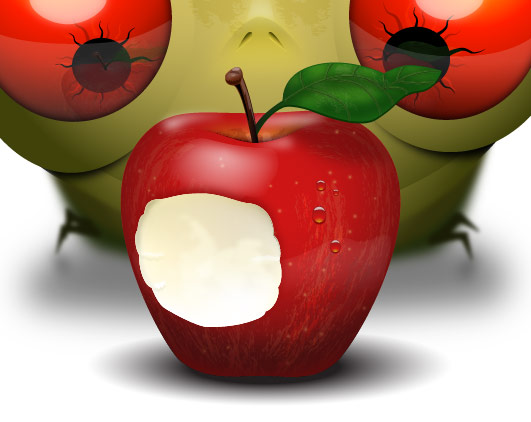
We'll start with our basic shapes. My scene is going to be an apple on a white background. The apple is going to have a stem and a leaf.
Using my pen tool and my direct selection tool I create and edit the outlines. I also create a couple of inset lines to mark other geometric features that I'll be working with in the future.
Walkthrough
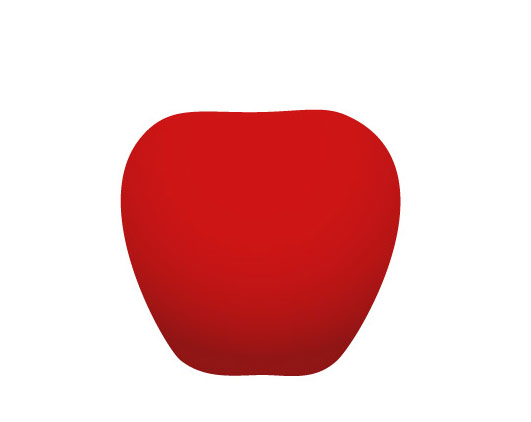
I'll add some simple gradients.

Now, I'll isolate the apple's body and remove the stroke.
Next, I'll create the elements for an opacity mask, using existing geometry, and apply it.
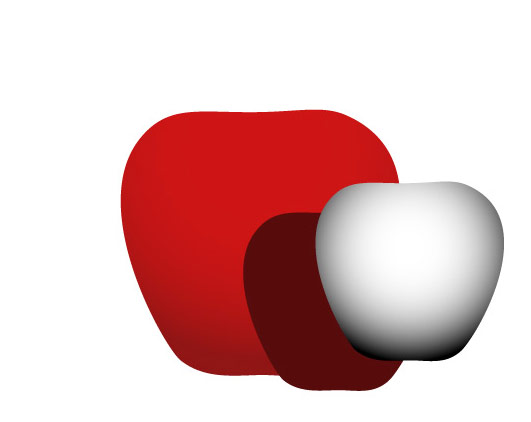
Now I'll add a subtle reflection of the surface that the apple is sitting on. This is done with an opacity mask.

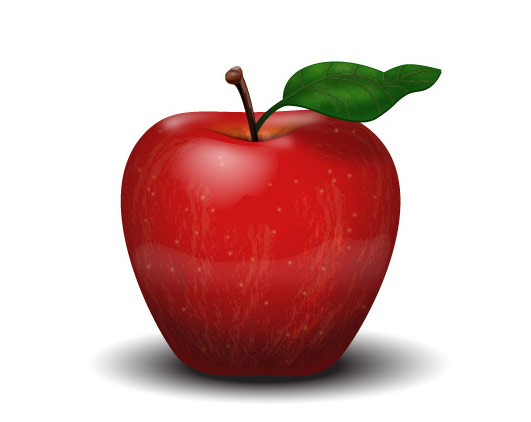
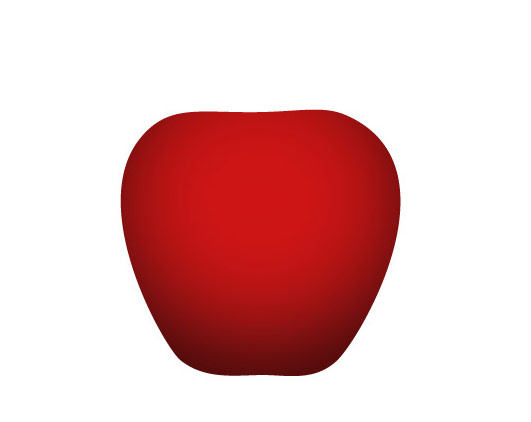
Now I'll add hot spots to represent the presumed light source.

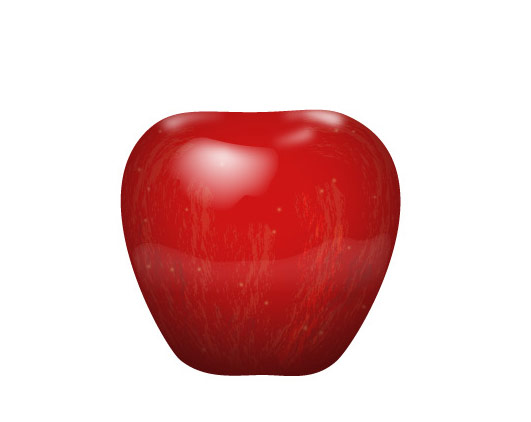
I'll make the surface of the apple a little more interesting by using brush strokes to simulate the striations in most varieties of apples. Different brush groups are given different blending modes and opacities.

I add some speckles using a simple circle, copied multiple times, grouped, and blurred.
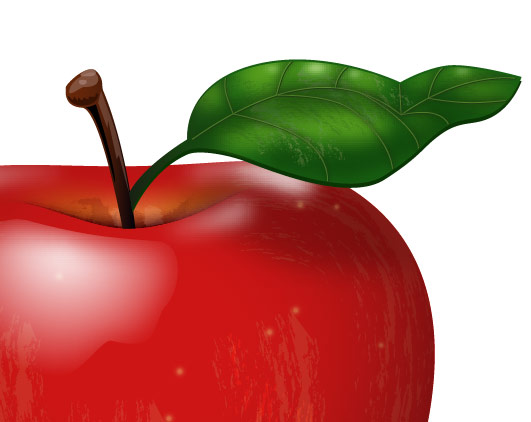
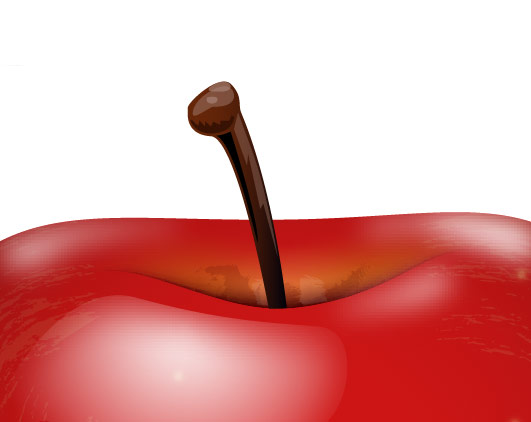
I'll create the depression in the apple's body, where the stem joins the body. To do this I used a gradient mesh and some brush strokes with an opacity mask applied to them.

I'll create a shadow beneath the apple's body. This is a black circle with a blur. The shadow is then controlled with the object's opacity value.

The stem is a collection of very simple geometries and colors. This could be refined, of course, but it seems impractical for this walkthrough.
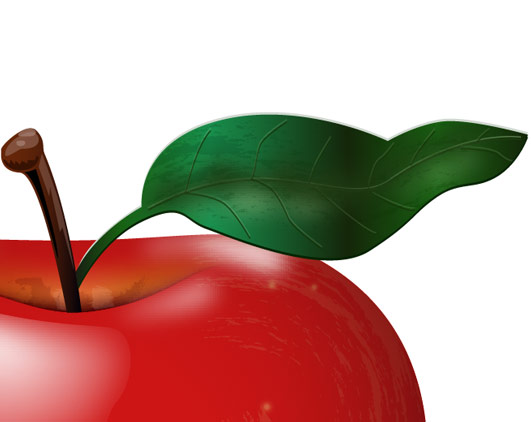
The components of the leaf are created with the same methods we've used already. including blurs, brushes and blending modes.
I've also employed a simple offset trick. For the body of the leaf, I used the base geometry three times. On top was the actual leaf. Beneath that is a brighter version of the leaf nudged upwards. Beneath that is a darker version of the leaf nudged downwards. This gives the leaf some thickness.
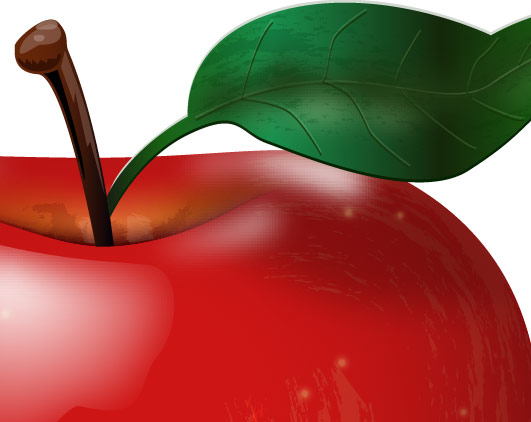
One last detail. I'll return to the body and add a shadow under the leaf.
This is the finished product.
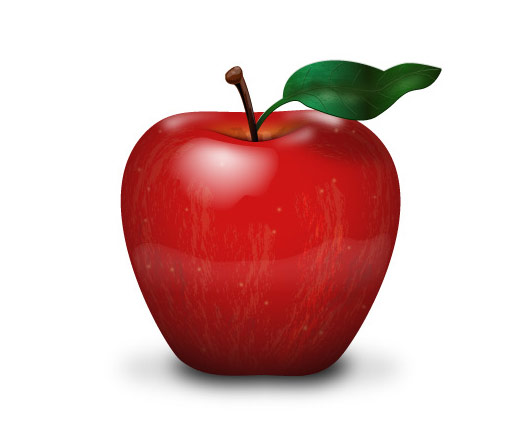
Conclusion
While my end result may not be the best example you have ever seen, I think it will serve as enough of an example of what can be accomplished. The product is bright, sharp, and vibrant. It retains its quality and edit-ability at any scale.
I hope you found this helpful. If you made anything because of it, post it in the forum!
This page was published on It was last revised on