With the apparent increase of interest in individuals desiring to install PHP and MySQL on computers running Windows operating systems, I thought it would be beneficial to provide a set of instructions to help make this process as easy as possible. In this article, I'll be providing some basics of IIS installation and then move to the installation of PHP and MySQL.
Some essentials you will need to get started:
- IIS (latest version is 10.0)
- The PHP Windows installer file
- The PHP binaries file
- The MySQL Windows installation file
Optional:
- phpMyAdmin
- MySQL Workbench
Install the IIS Web Server Application
Let's get started. Since you are installing these on a Windows computer, you will most likely be using IIS for a web server, however, it is not required. You must have some webserver running, however, and you are quite welcome to use Apache or another web server of your choice, however, since that falls outside the scope of this tutorial we will leave that discussion for another day.
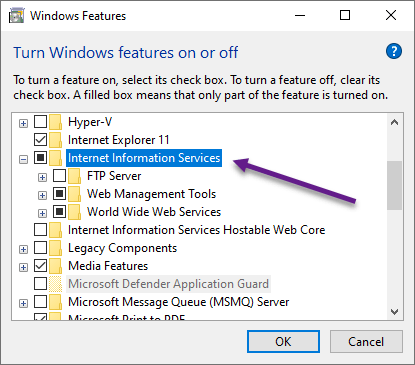
IIS 10 is included with Windows 10 but is not installed by default. If you haven't already done so begin by installing IIS:
- Right-click on the Start Menu
- Click on Apps & Features
- Click on Programs and Features under Related settings
- Click Turn Windows features on or off on left sidebar
- Check the option for Internet Information Services (IIS)
- Click plus sign to expand options and select any additional features you want installed.
- Confirm everything and then click OK to begin the installation.
This will install IIS and start the webserver service automatically. You should not need to reboot. To test your installation open your web browser and type in http://localhost/. This should bring up the default IIS page. If it does, your installation was a success and you can immediately get started on installing PHP.
Install PHP
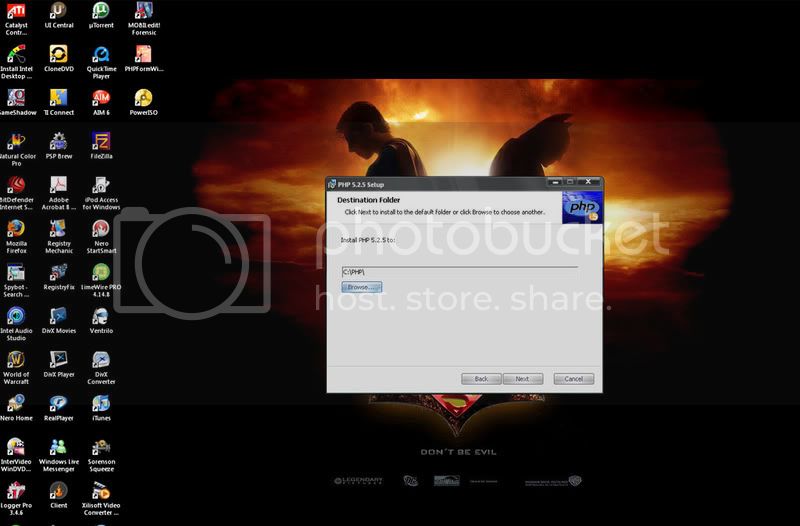
It really shouldn't matter whether you install PHP first or MySQL first. I've simply gotten into the habit of beginning with PHP, so that will be my next step. To get the files you will need, go to the download page at php.net. At the time of this writing, the current version of PHP is 8.18. According to the PECL documentation, if you are using PHP as FastCGI with IIS you should use the Non-Thread Safe (NTS) version of PHP. You will want to download the PHP 8.1.8 zip package. Unzip the files to C:\PHP. *Note it is not recommended to install PHP in a directory that contains spaces such as c:\Program Files\PHP as it can cause some web servers to crash.
I recommend adding PHP to the Windows PATH environment variable:
- Right-click on the Start Menu
- Click on System
- Click on Advanced system settings
- Under the advanced tab click on **Environmental Variables
- Click on Path (I usually change under system which affects all accounts, but up to you)
- Click edit button
- Add path to PHP: C:\PHP
- Keep hitting OK until everything closes
To test your PHP installation copy the following into a file and save it as info.php in c:\Inetpub\wwwroot\. (wwwroot is Windows IIS default website folder. Any of your web files will always go in there)
<?php phpinfo(); ?>
Then go to your web browser and type: http://localhost/info.php. If your installation was successful, this should display your PHP configuration information.
Install MySQL
Now we can proceed to install MySQL. Go to MySQL. As of this writing, the most current release is v8.0.29. Download the Windows(x86) file (the larger file, currently 439.6M). This is the full package and includes the installer. Unzip it to a temporary location and run the installer. For the most part, especially for someone doing this the first time, it's easiest to use the standard installation. This will essentially configure all the basic things you need to have MySQL work.
During the configuration, you will be asked which port to use. The default port 3306 is usually fine, however, if you know something else is already using that port, you can select another one. Your super user that will be created during the install is user root. Root is the chief administrative username and can do anything in MySQL. You can add other users later after you're up and running, but root is going to be your main admin access. Remember the root password you use. If you lose or forget it, there is no way to access it, and you could find yourself unable to use MySQL. Complete the wizard. Now let's test it to make sure it's working. Go to Programs, then MySQL, then MySQL Server 8, then MySQL Command Line Client. This is a utility similar to DOS for managing MySQL. At the password prompt type in the password you created and hit enter. If your server is working properly you should get something that looks like this:
Enter password:
Welcome to the MySQL monitor.  Commands end with ; or \g.
Your MySQL connection id is 1 to server version: 5.0.16-nt

Type 'help;' or '\h' for help. Type '\c' to clear the buffer.

MySQL>
If you see that, your installation was successful. You can type quit or exit to close the Client.
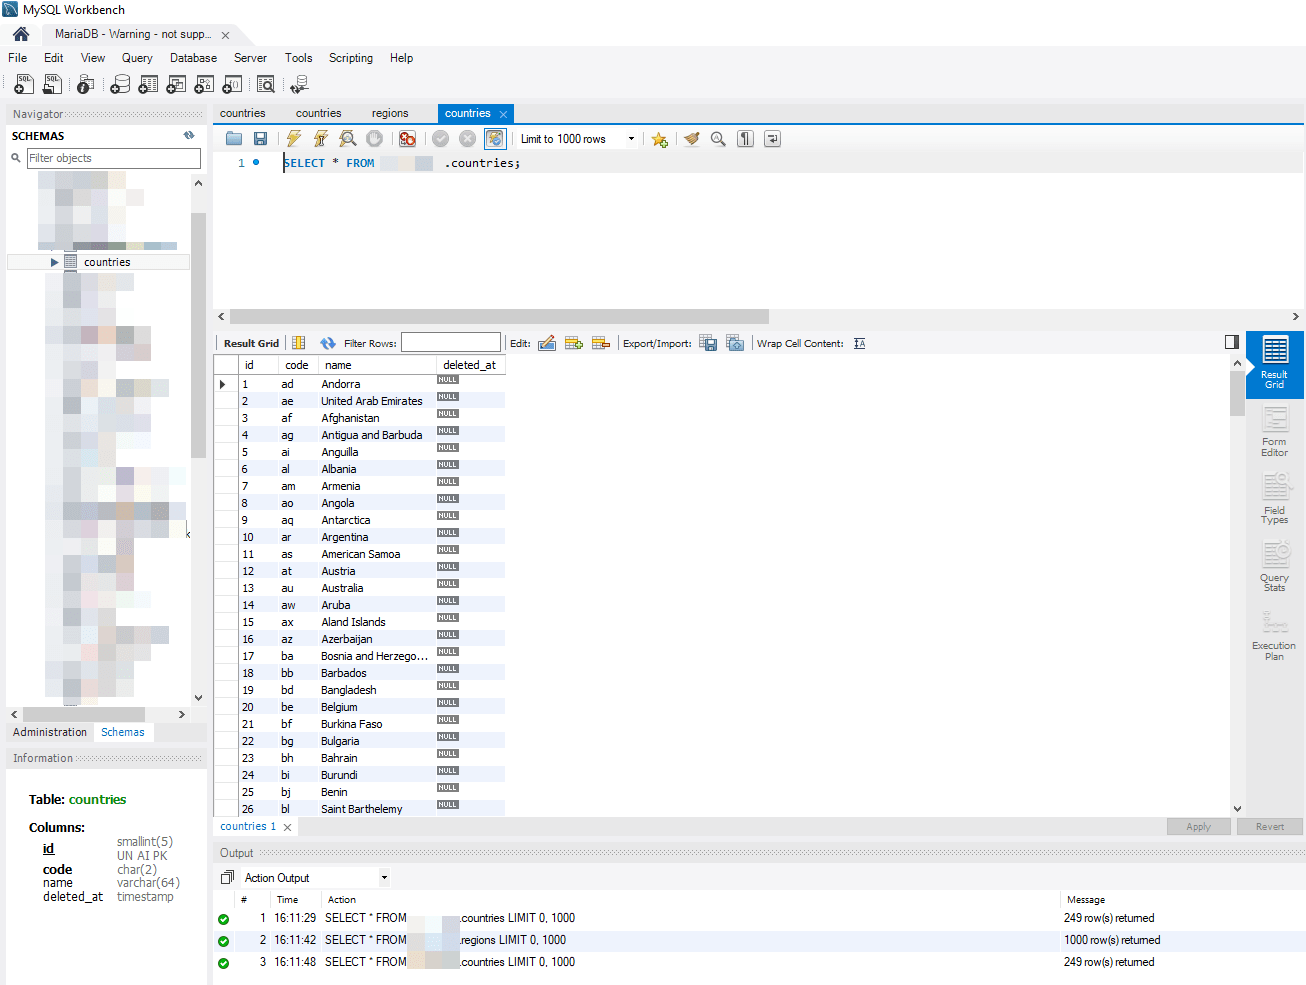
MySQL Workbench
Now there are some purists out there that probably swear by that command-line client and use it exclusively for managing their server. However, for us spoiled Windows dummies that are used to "easy-to-use" GUI's there is an alternative good tool for your server management: MySQL Workbench. Download the installer, and you will find the installation is very straightforward. After it's installed simply run it. For your logon the host would be localhost, the port would be the port you used when installing MySQL (default 3306) and the user would be root with the password you gave on installation. Since administering your MySQL server is beyond the scope of this article, we'll leave that for another day, however, you'll see very quickly the ease with which you can add users and create and manage your databases.
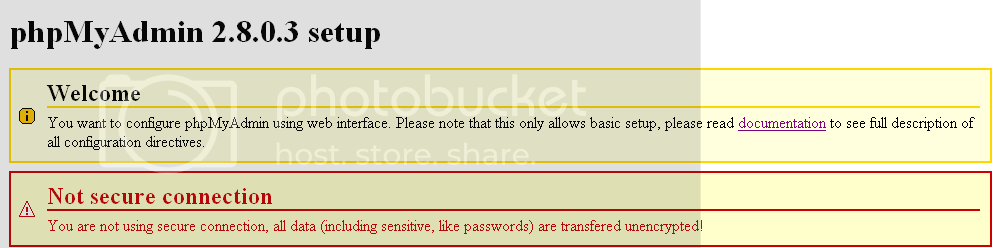
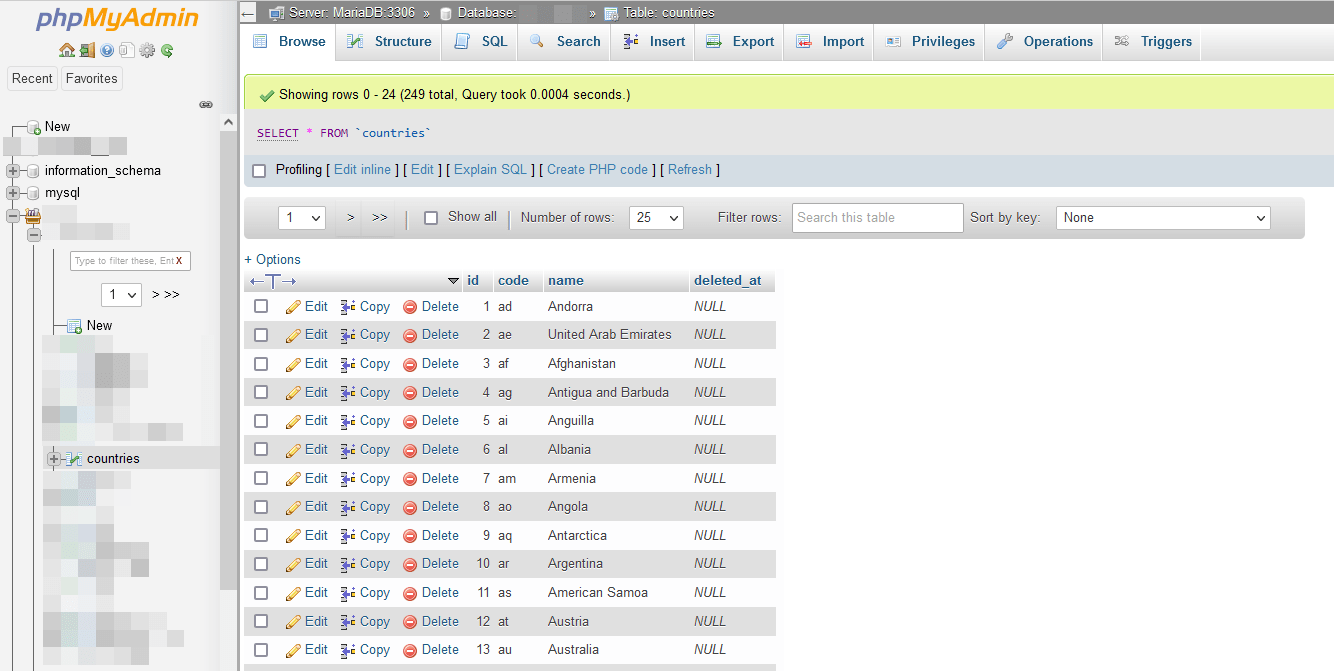
Install phpMyAdmin
The last tool that I listed as optional, I actually couldn't live without it, and that is phpMyAdmin which can be downloaded HERE. Simply unzip the contents to a temporary directory. Create a folder called phpMyAdmin in c:\Inetpub\wwwroot\ and copy your extracted phpMyAdmin download files in there. Then open config.default.php in an editor and edit the following as needed.
Make sure the port number here $cfg['Servers'][$i]['port'] = '3306'; matches the port you used when installing MySQL. If you are going to only be using this as a development machine and it will not be connected to the internet or accessible from the internet use the following configuration for these three lines:
$cfg['Servers'][$i]['auth_type'] 	= 'config';  // Authentication method (config, http or cookie based)?
$cfg['Servers'][$i]['user'] 		= 'root'; 	// MySQL user
$cfg['Servers'][$i]['password'] 	= 'yourpassword'; 		// MySQL password (only needed with 'config' auth_type)
If this will be accessible from the web, you'll most likely want to use HTTP authentication, in which case change config to http and leave user and password empty. Save the file as config.inc.php in your phpMyAdmin folder.
For some reason on a Windows machine, phpMyAdmin seems to want access to php_mbstring.dll. To solve this open c:\Windows\php.ini (or WINNT if Win2K) and find the following:
; Directory in which the loadable extensions (modules) reside.
extension_dir = "./'
Change that to
; Directory in which the loadable extensions (modules) reside.
extension_dir = "./extensions/"
Then scroll down to this line and uncomment it (remove the leading semi-colon)
extension=php_mbstring.dll
Now, in theory, you should be able to go to http://localhost/phpMyAdmin/index.php and you should be working. "In Theory". However, I've done four Windows installations, and this is where I always run into a snag. For some reason, there seems to be a bit of a problem with the MySQL authentication protocol that it doesn't like. Since one of our members recently had this problem and rather than retyping everything, simply read the post here for the workaround to this. Once it is working it will look something like this:
Conclusion
Well, that was a bit lengthy, but if all went well, now you should be happily ready to start serving up PHP pages on your Windows computer. My tutorial may not include every specific detail, nor will it answer every problem you might encounter. But it should get you to where you have a good installation.
If anyone has additional information, feel welcome to add it. Good luck with your installation!
This page was published on It was last revised on