Introduction
I have no idea what this effect is called, but it looks pretty cool.
Basically, it uses a layer that consists of a blurred copy of an image, a layer with a normal copy of an image, and a mask that was drawn using the Vector Path tool applied to the top layer.
Blur Copy
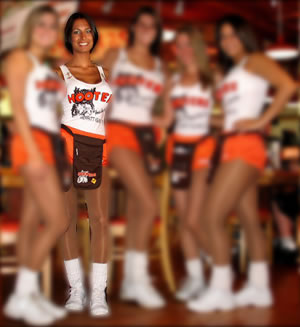
With the image you want to use open in Fireworks, press CTRL+C to copy the image, then CTRL+V to paste it right on top of the existing image. Make sure that both images are in the exact same position. We're not going to apply a blur just yet.
Tracing for a Mask
This is the tough part, tracing the part of the image you want to have displayed without the blur.
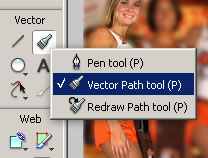
Select the Vector Path tool and 1 pixel Soft Rounded stroke.
Then trace around the area in the image that you want to stay focused on.
A few things to keep in mind, are that it's better to be slightly inside of the object than outside of the object and that you do not have to trace around the entire object at one time. You can trace around small sections and then combine those sections by selecting all of them using SHIFT/CTRL and then using Modify -> Combine Paths -> Union later.
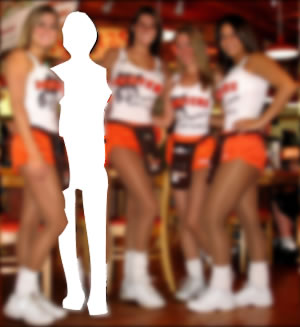
Once you've closed your path and given it a white fill you should have something similar to this. Feel free to experiment with line widths, precisions, and other settings until you get a quality level you're comfortable with.
Also note that by using a vector shape as a mask, you can select the mask from the layers box and modify that vector path to make adjustments after everything is done. When doing so, there's going to be an option on the mask's properties labeled "path outline" or "grayscale appearance", the grayscale option will let you adjust your mask taking into consideration feathered edges and fill color shades whereas the path outline option always uses a hard outline of the shape with no opacity considerations for mask fill colors.
Now with cases like the girl on the right where there is an area between her arm that should be blurred, kinda like a doughnut, here's what you do.
First, create the outline path, then trace that inside area. Use CTRL/SHIFT to select both paths, then select Modify -> Combine Paths -> Join before giving the paths a fill. That will cause the inside path to work like the inside edge of a doughnut.
Setting The Mask
Once you're happy with your masking shape it's time to apply it as a mask.
With the masking shape selected press CTRL+X to cut the mask out of the picture.
Next right-click the foreground image and select Edit -> Paste as Mask.
It shouldn't look any different yet because at the moment the background image looks exactly the same as the foreground.
Now Blur the Background
With the mask applied to the foreground, you should now be able to click anywhere on the canvas other than the masked area to select the background image.
With the background image selected click the [+] button by your filters and select Blue -> Gaussian Blur.
You should immediately see a difference and a dialog window you can use to fine-tune the blur.
Conclusion
If you really want to set the subject of interest apart from the rest, you can apply a grayscale to the background image along with or in place of the blur. I'm sure you can think of other ways to distort that background image as well.
One possible use for this would be to highlight employees in a photo when you hover over their name in a list. Something that's possible with Javascript, but should really be done using Flash if you're using a large image or more than a half-dozen people because flash can achieve the effect using a single copy of the image and some programming VS needing multiple images or a CSS sprite image for Javascript.
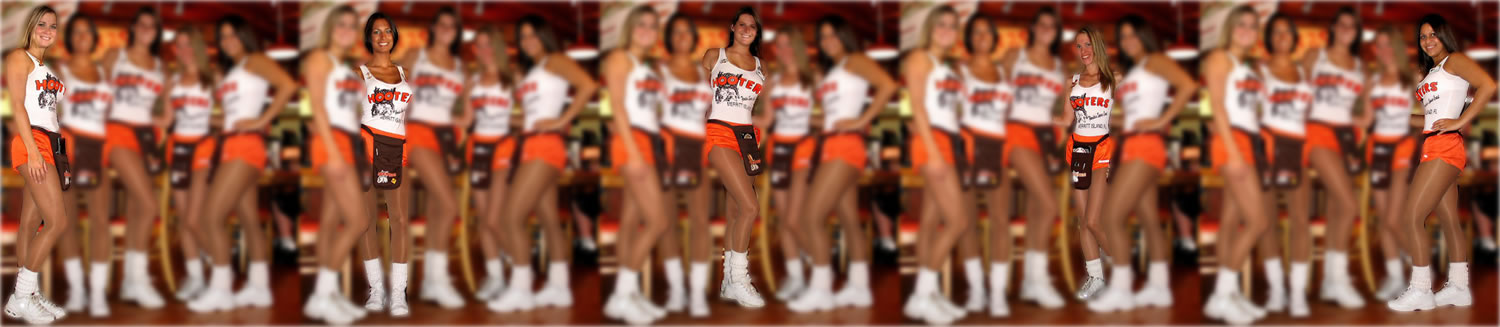
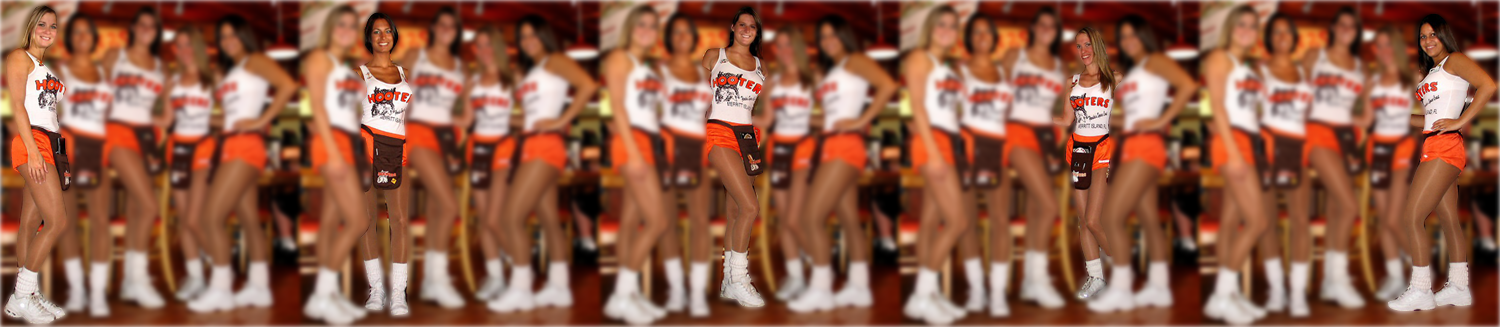
Javascript and CSS sprite example of a use for the blur masking effect that focuses on a different person in the photo depending on which list item you hover over with your mouse:
hooters-strip.html
<!DOCTYPE html PUBLIC "-//W3C//DTD XHTML 1.0 Transitional//EN" "http://www.w3.org/TR/xhtml1/DTD/xhtml1-transitional.dtd">
<html xmlns="http://www.w3.org/1999/xhtml" xml:lang="en" lang="en">
<head>
	<meta http-equiv="content-type" content="text/html;charset=utf-8" />
	<title>Hooters Strip</title>
	<style type="text/css">
	#screen {width:300px; height:327px; background-image:url("hooters-strip.jpg");}
	li {border:#fff 1px solid;}
	</style>
	<script type="text/javascript">
	function see(elm, x)
	{
		elm.style.borderColor = '#f00';
		elm.onmouseout = function(){elm.style.borderColor = '#fff';}
		document.getElementById('screen').style.backgroundPosition = x + 'px 0px';
		return false;
	}
	</script>
</head>
<body>
	<div>
	<div id="screen"></div>
	<ol>
		<li onmouseover="see(this, 0);">The Hot One</li>
		<li onmouseover="see(this, -300);">The Other Hot One</li>
		<li onmouseover="see(this, -600);">The Hot One in the Middle</li>
		<li onmouseover="see(this, -900);">The Hot One Next to the Hot One in the Middle</li>
		<li onmouseover="see(this, -1200);">The Hot One on the Right</li>
	</ol>
	</div>
</body>
</html>
This page was published on It was last revised on


