Introduction
Slicing is a fairly easy tool to use and in this quick tutorial we are going to slice up an image and export the slices and HTML to DreamWeaver.
Create Our Image
Firstly we need to open Adobe Photoshop and create our image.

Time to Slice
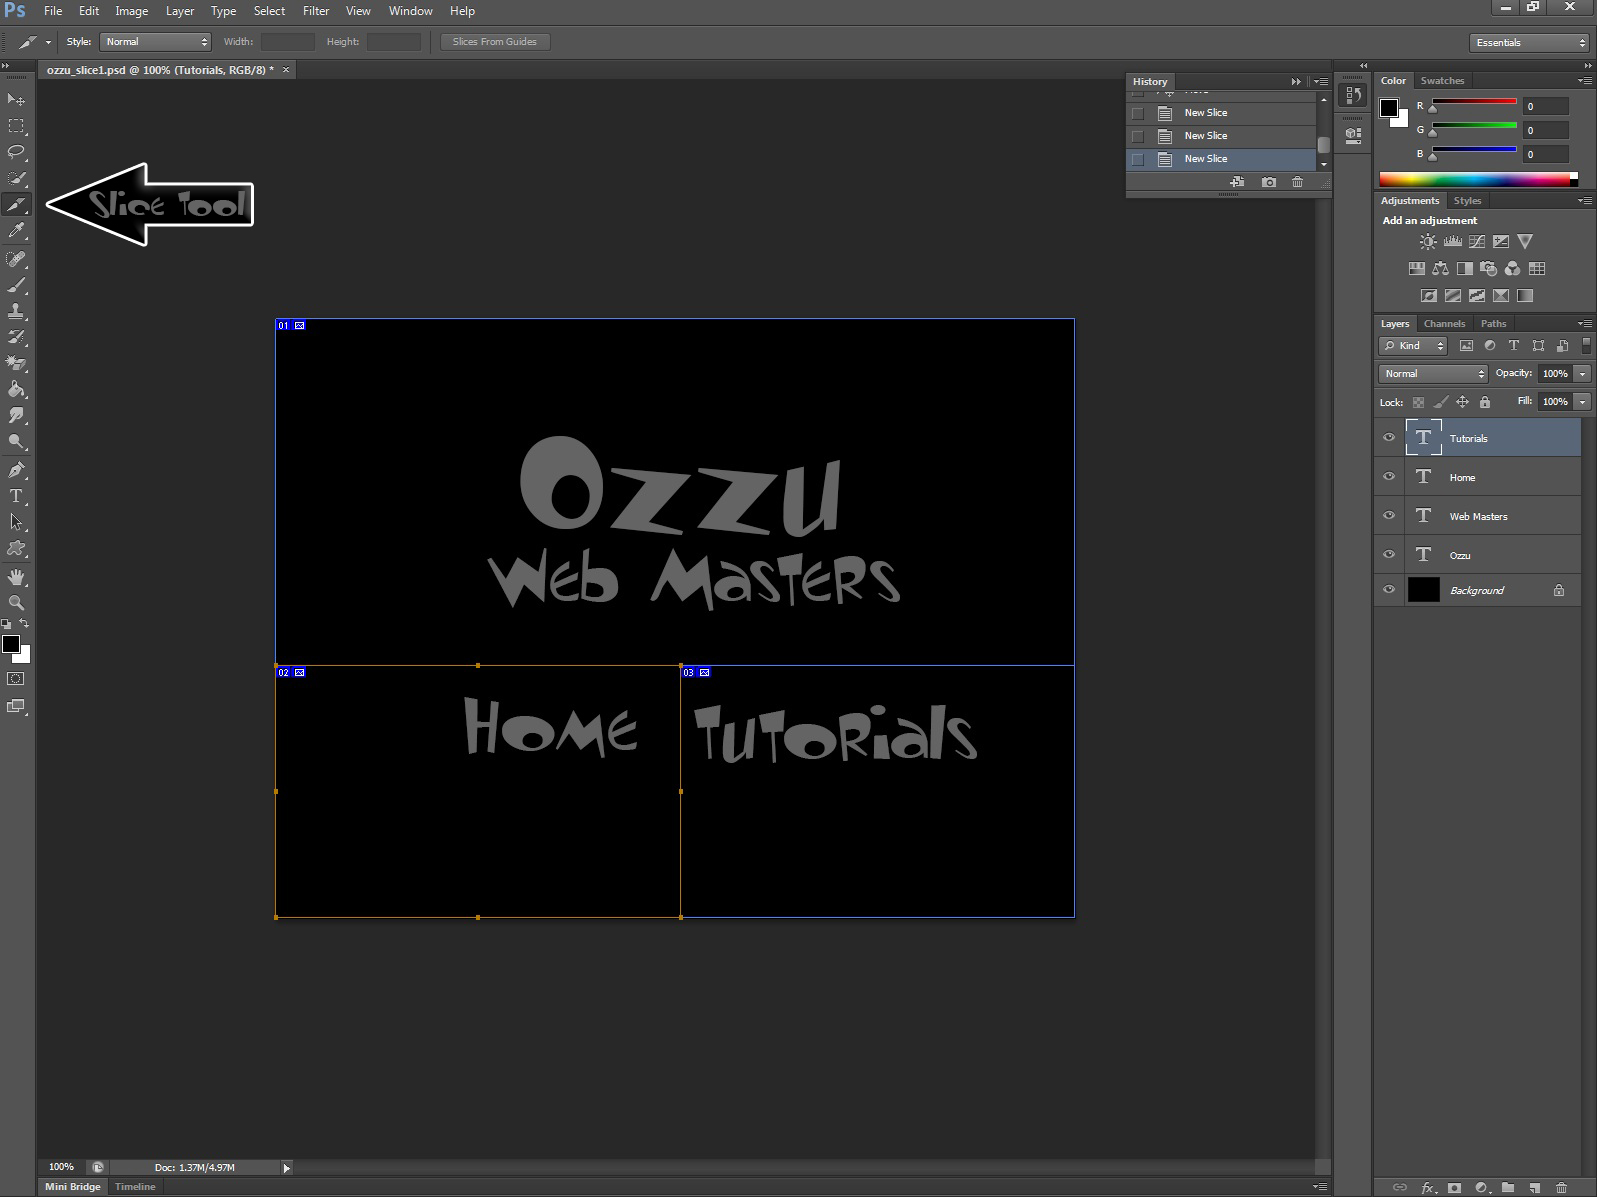
Then We are to select the Slice tool, click and hold. There is also 2 slice tools, Slice tool is to create new slices and Slice select tool is to edit and transform created slices. You will be going back and forth between them. Follow the example to create your slices and then check the next picture.
Exporting Image Slices and HTML
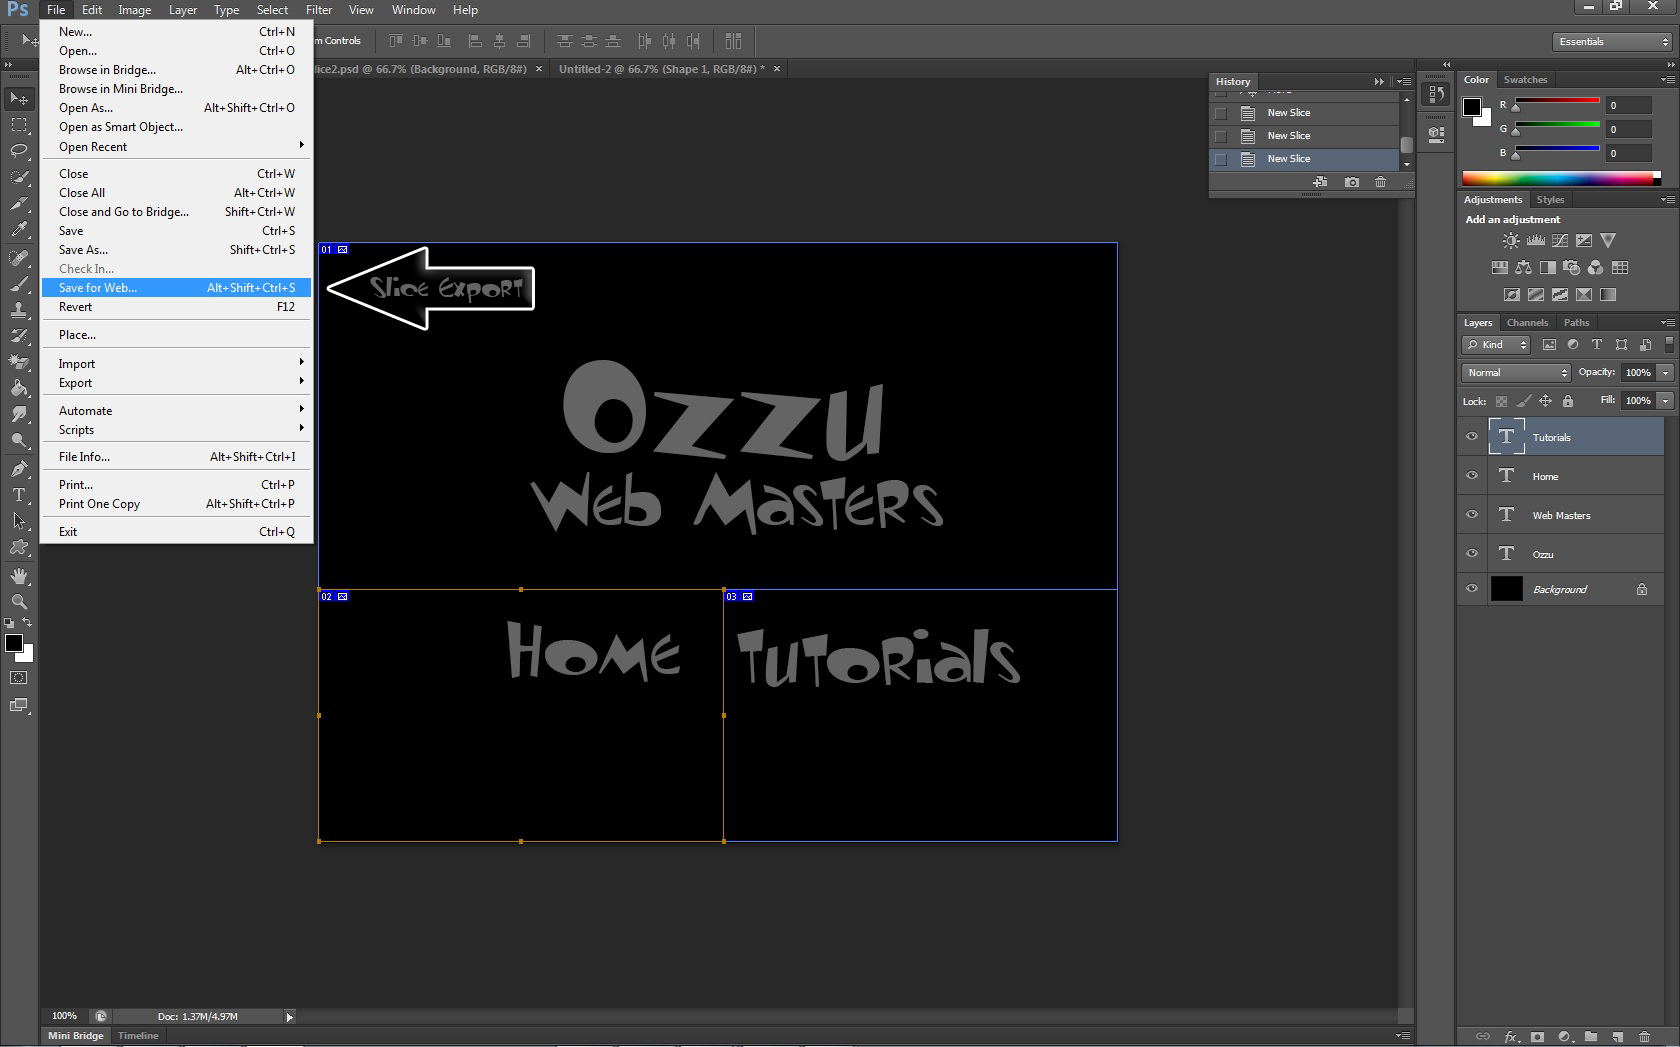
We are happy with our slices and now we are ready to export, this is also something I did not figure out as fast as I wanted but make sure you select save for web... as this will give you the functions to save each slice into it's own image and also export the HTML out of it too into a table.
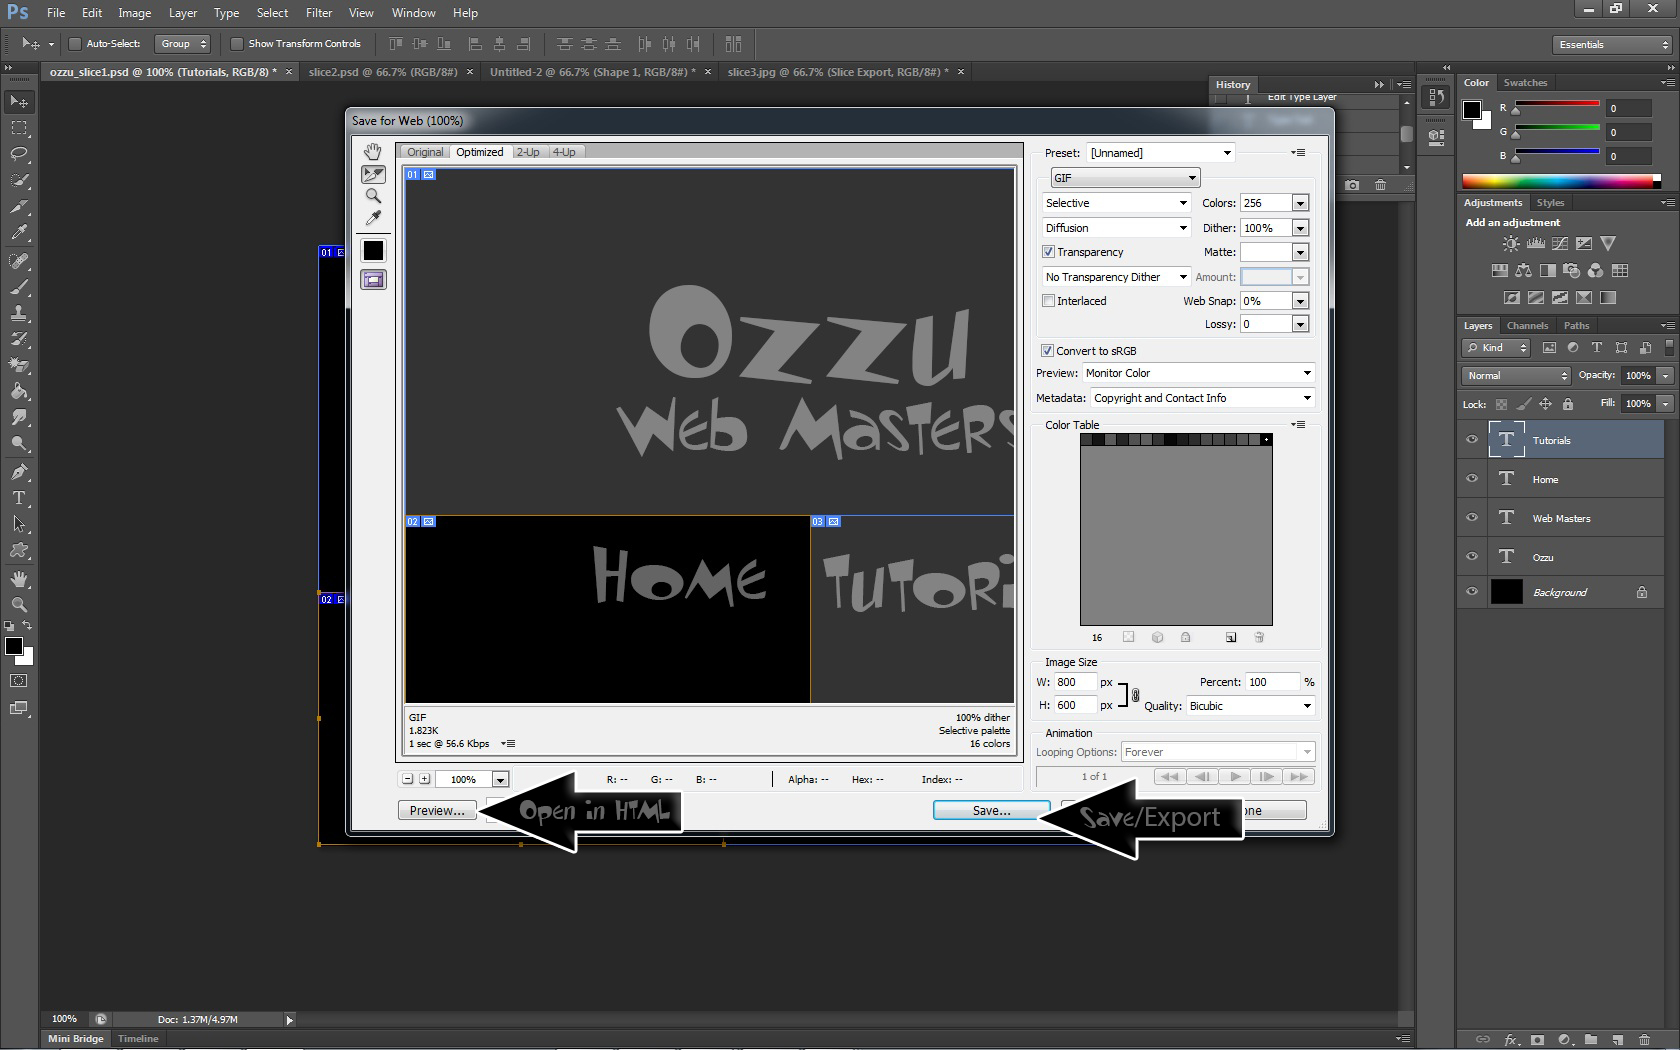
This new window is your new friend is slicing, I have added 2 arrows to this example. Left arrow marked open in HTML will slice and preview your slices in a default browser and under it will be the HTML source code. Keep this open or copy it into dreamweaver then back to photoshop and click save which will export your slices to a selected folder. My suggestion would be for web sites is root:/images/
Congrats you have just sliced up the template.
When making lots of slices your going to run into times where you have made a mistake, all slices must be accurate by the pixel. When checking your HTML code if your images are not a clean layout and there is spacers, you have misaligned something somewhere. Best advice is to keep slices in perfect alignment and if needed use multiple tables.
To continue setting up...
Note: if your /image/ folder has another /image/ folder in it means you manually made the folder and went and saved into it, should select the root of your directory to save time and keep things clean.
Open Dreamweaver back up and set your working directory up to the root of where your working, open your index in root:/index.html add "align=center" to the table to get it in the middle then click design view. You can see the outlay of your template and going from left to right click on the order of your images and using the drag and drop function for the directory file.
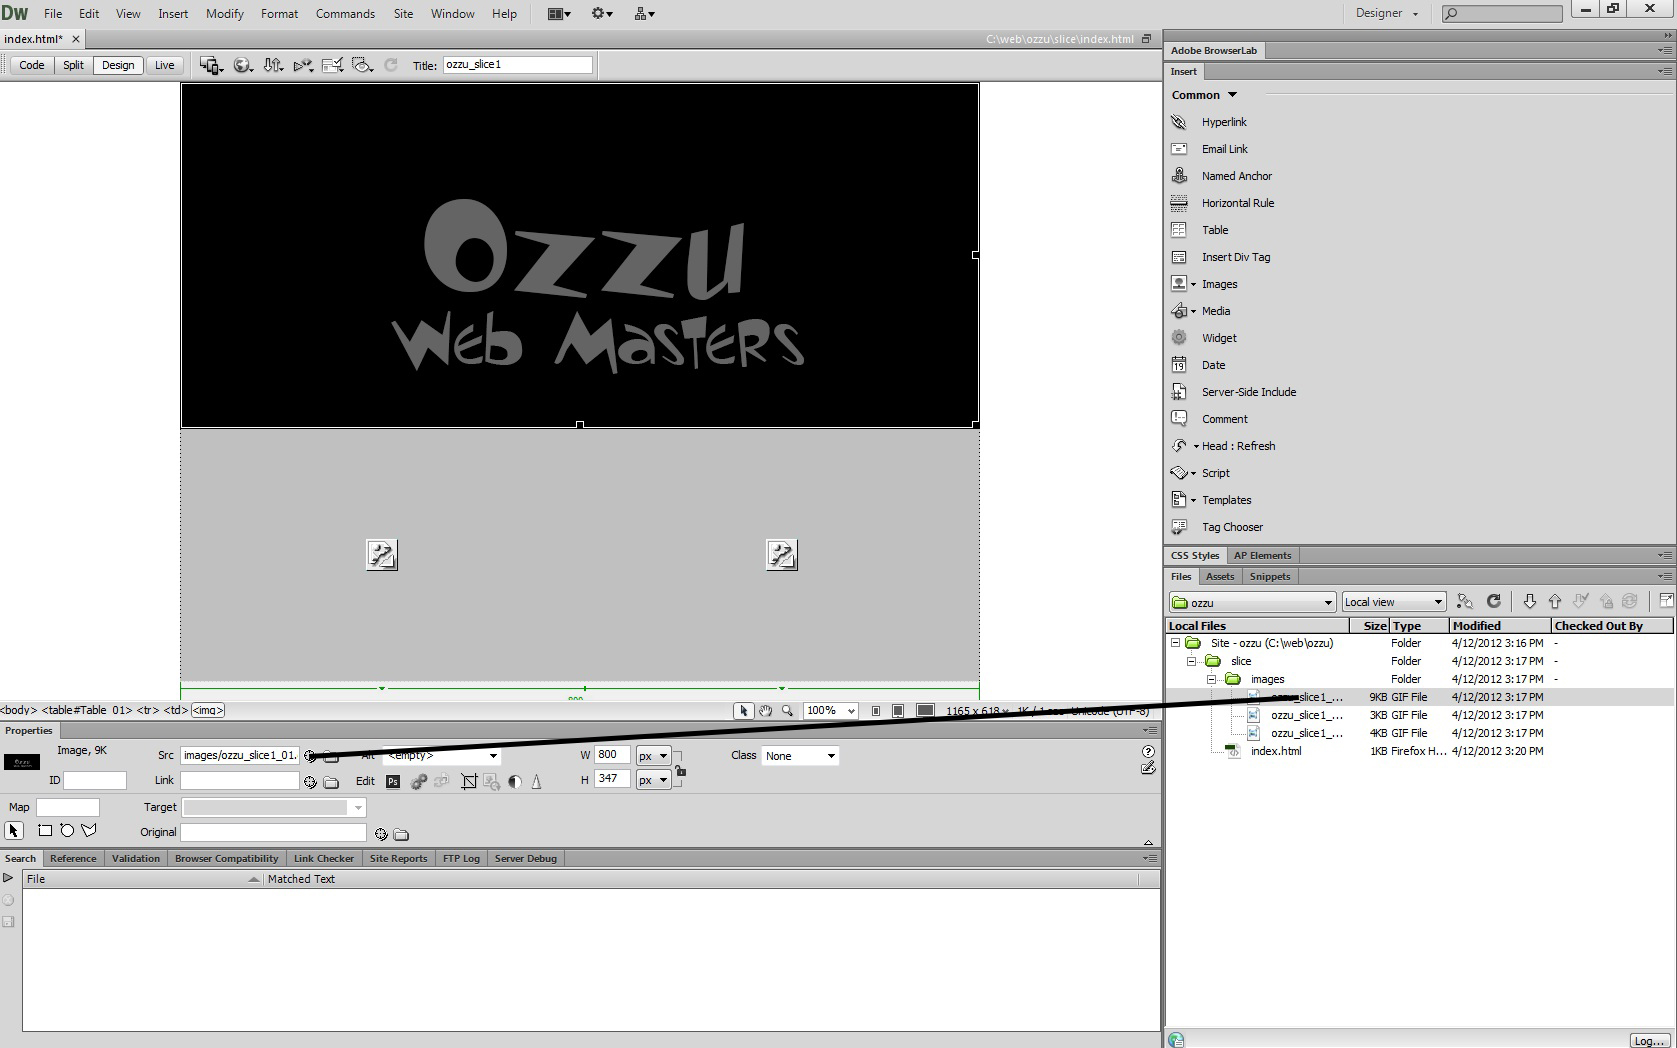
Once all 3 images have been directed to each image in the HTML you can assign a hyperlink to the bottom 2 images and use them as links into other sections of the web site.
Conclusion
By this point you should have a clear understanding of how to take a PSD to HTML, keep in mind that slicing make take some getting used to to get perfect results. But once you find the rules of what goes where you can make some great templates in Photoshop and easily make them into a web site for a client.
This page was published on It was last revised on
